Assess Sink Condition: How To Reseal A Bathroom Sink

How to reseal a bathroom sink – Recognizing the signs of a compromised bathroom sink seal is crucial for maintaining the integrity of your bathroom and preventing water damage. Here are some telltale indications:
Signs of a Damaged Seal
- Visible cracks or gaps around the sink base or between the sink and countertop
- Leaking water that pools around the base of the sink or on the floor beneath it
- Mold or mildew growth due to moisture accumulation
- Unpleasant odors emanating from the sink area
Checking for Leaks
To confirm the presence of a leak, perform the following steps:
- Wipe the sink and surrounding area dry with a clean cloth.
- Run water into the sink and let it fill to about half its capacity.
- Inspect the sink base, countertop, and floor for any signs of moisture or water seepage.
Identifying Sealant Type
Knowing the type of sealant used is essential for selecting the appropriate replacement. Here’s how to identify it:
- Silicone Sealant: Flexible, waterproof, and commonly used in bathrooms due to its resistance to mold and mildew. It appears as a rubbery material.
- Caulk: A less flexible sealant made from acrylic or latex. It’s typically used for smaller gaps and is not as water-resistant as silicone.
- Epoxy: A strong and durable sealant used for bonding materials together. It’s not commonly used for sealing sinks.
Preparation and Materials

Preparing your sink for resealing is crucial to ensure a successful and durable result. Here’s what you’ll need and how to proceed:
Tools and Materials
- Caulking gun
- Silicone caulk
- Caulk remover or utility knife
- Rubbing alcohol
- Paper towels or rags
- Painter’s tape
Removing Old Sealant and Cleaning
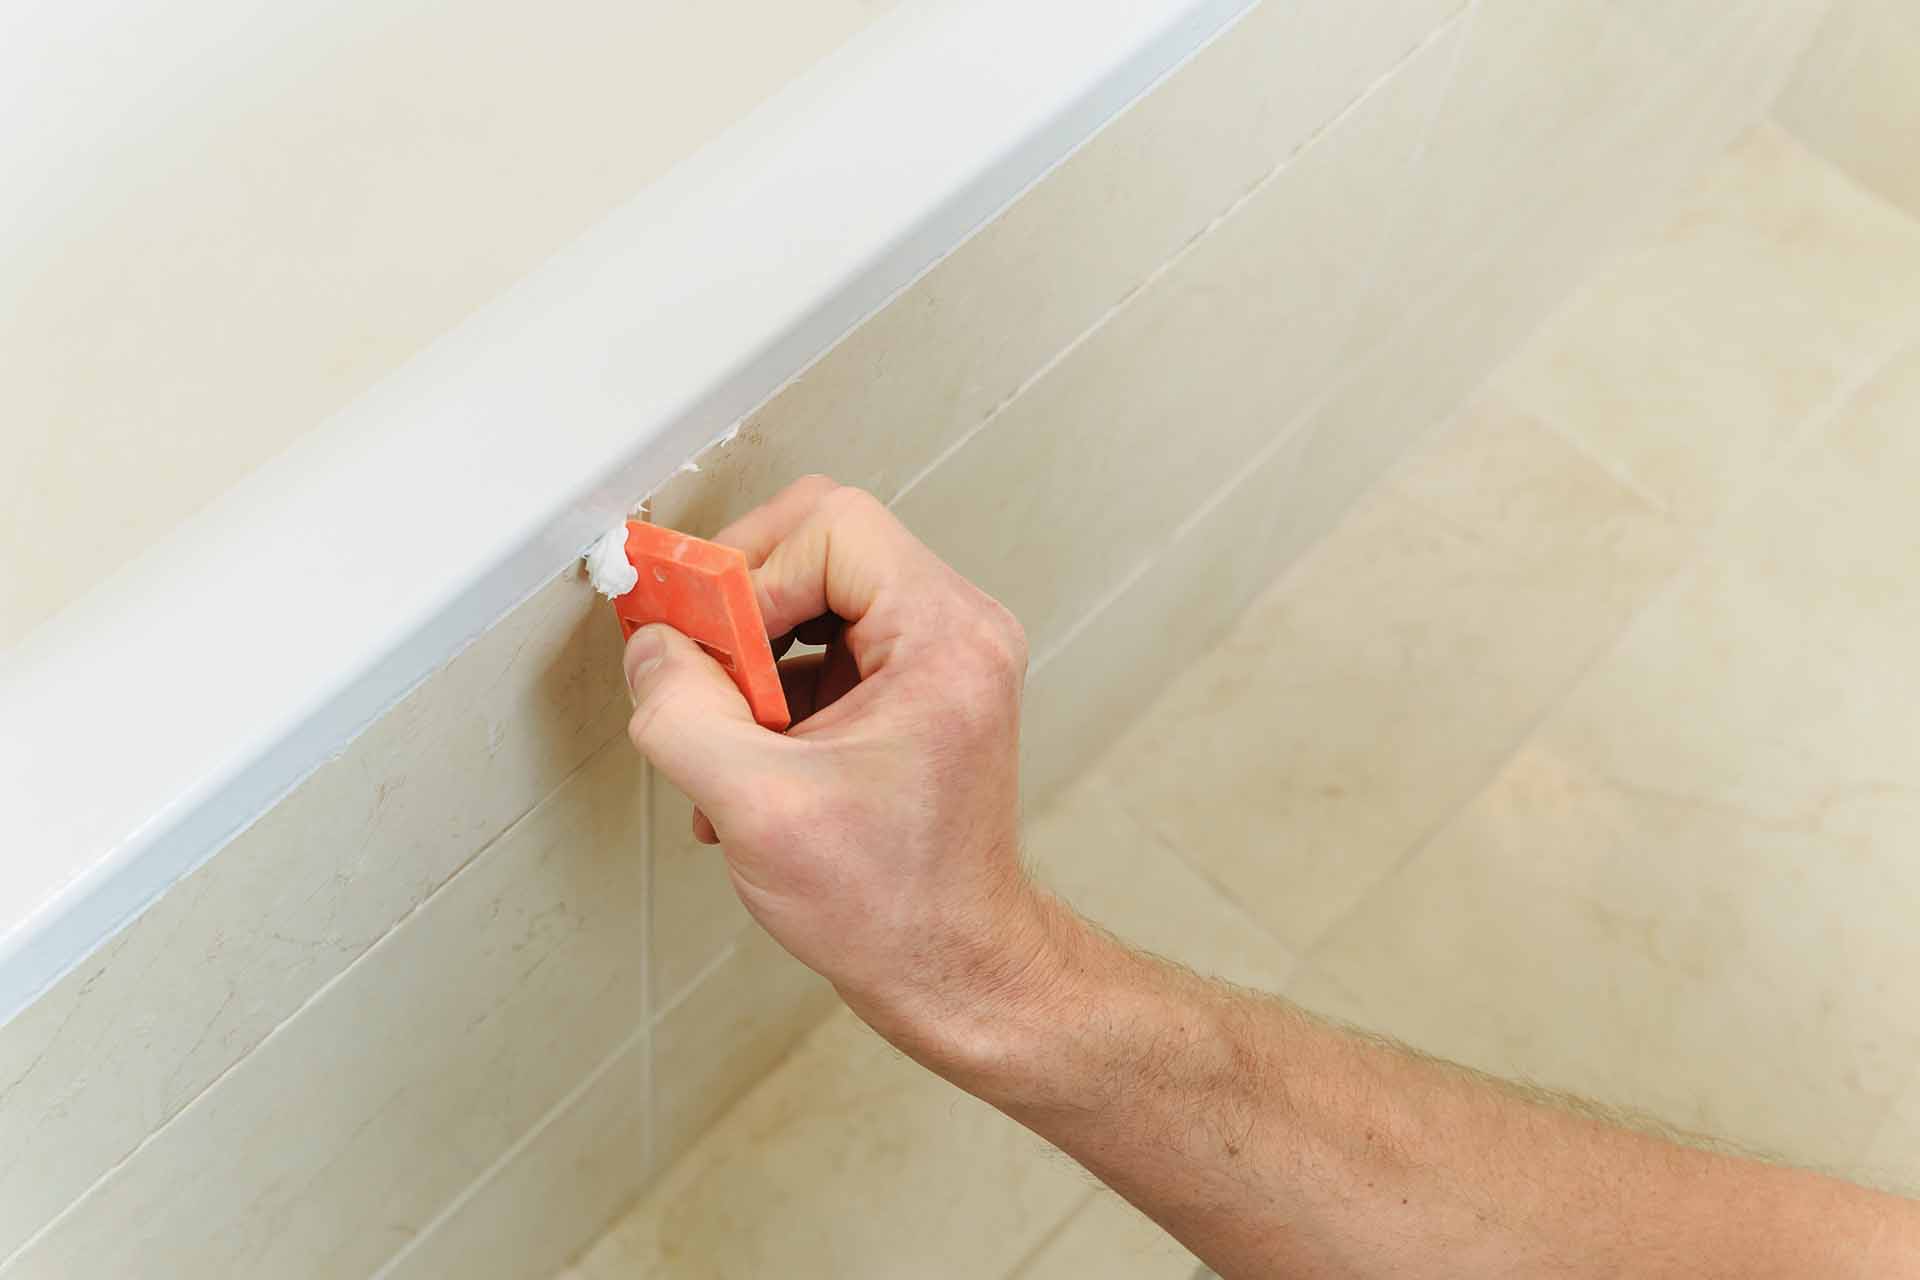
Remove the old sealant using a caulk remover or utility knife. Be careful not to damage the sink or surrounding surfaces. Once the old sealant is removed, clean the area thoroughly with rubbing alcohol to remove any residue. Allow the surface to dry completely before applying new sealant.
Masking Surrounding Areas
To prevent sealant stains on the surrounding areas, apply painter’s tape along the edges of the sink. This will create a clean line and protect your surfaces from any sealant that may accidentally get on them.
Sealant Application and Finishing

Applying sealant is crucial for creating a watertight seal around your bathroom sink. Different types of sealants are available, each with its own properties and uses. Understanding their differences and using the correct application techniques will ensure a successful and long-lasting seal.
Types of Sealants
- Silicone Sealant: A versatile and waterproof sealant commonly used for bathroom sinks. It adheres well to most surfaces, including porcelain, ceramic, and metal.
- Acrylic Latex Sealant: A water-based sealant that is easy to apply and clean up. It is not as waterproof as silicone but is suitable for areas with less water exposure.
- Polyurethane Sealant: A strong and durable sealant that is resistant to chemicals and UV rays. It is often used for outdoor applications or areas with heavy wear and tear.
Applying Sealant, How to reseal a bathroom sink
- Clean and Dry Surfaces: Thoroughly clean the surfaces around the sink with a cleaner and dry them completely before applying sealant.
- Apply Backer Rod (Optional): For wider gaps, use a backer rod to fill the space and reduce the amount of sealant needed.
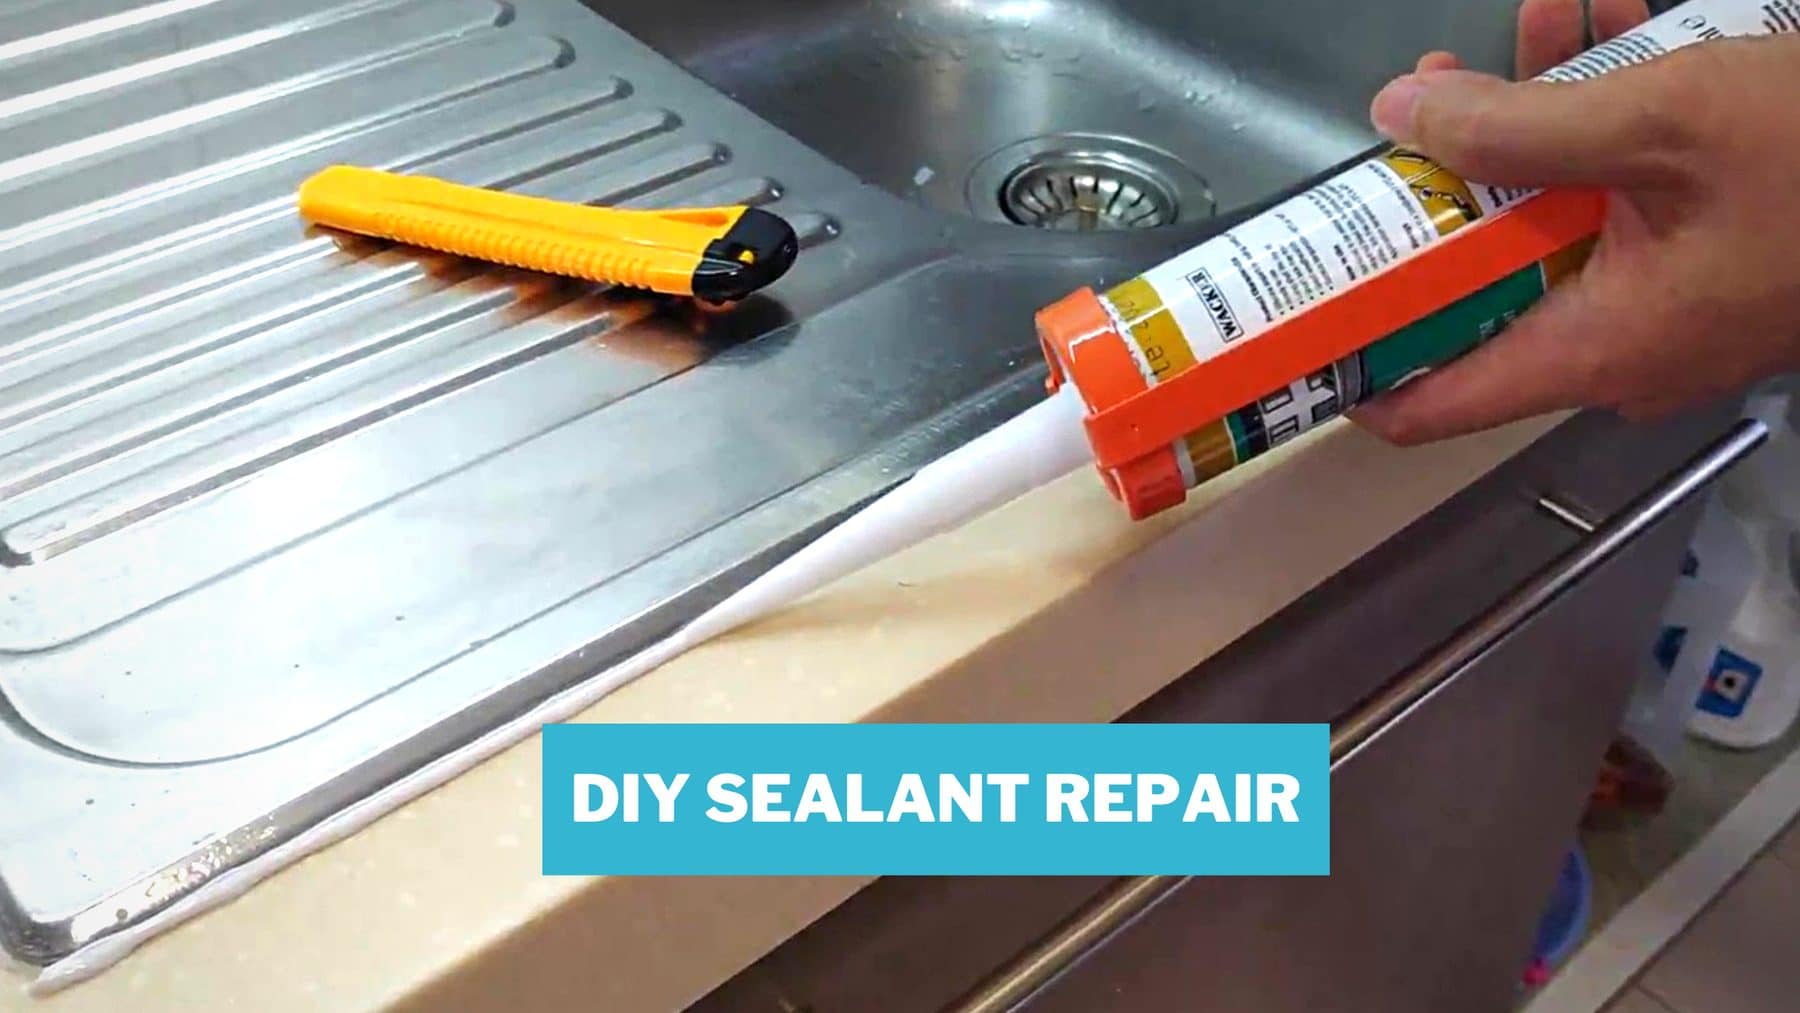
- Apply Sealant: Cut the tip of the sealant tube at a 45-degree angle and apply a thin bead of sealant along the joint. Use a steady hand and maintain even pressure.
- Smooth Sealant: Use a damp finger or a sealant smoothing tool to smooth the sealant and create a neat finish. Avoid over-smoothing, as it can weaken the seal.
Curing and Precautions
- Curing Time: Allow the sealant to cure according to the manufacturer’s instructions. Curing time can vary depending on the type of sealant and environmental conditions.
- Avoid Excess Water: Keep the area dry during the curing process to prevent water from weakening the seal.
- Protect from Heat: Avoid exposing the sealant to excessive heat during the curing process, as it can damage the bond.
When the bond between your bathroom sink and countertop weakens, it’s time to reseal. Whether you opt for a classic white sink or a rustic farmhouse sink bathroom vanity , a proper seal prevents water damage and ensures a long-lasting installation.
Remember, resealing is a crucial step in maintaining your bathroom’s functionality and aesthetic appeal.
If your bathroom sink has a loose seal, you can easily reseal it yourself with a few simple steps. First, clean the area around the sink and remove any old sealant. Then, apply a new bead of sealant around the edge of the sink and smooth it out with your finger.
If you’re looking for a more modern look, consider installing an integrated sink countertop bathroom. These countertops are made from a single piece of material, so there are no seams where water can leak through. Once you’ve installed your new sink or countertop, be sure to reseal it regularly to keep it looking its best.